
DIY Wishing Well: Spring’s Best Seller?!

Perfect For Your Garden or The Market
One of the most requested builds on my channel has been a wishing well, but I didn’t want to make just any old-school version. Instead, I put my own creative spin on it, and I’m excited to show you how you can build this stylish, four-foot-tall wishing well. Whether you use it as a planter, lawn decor, or even a unique package drop box, this build is both fun and functional!
Materials and Tools You'll Need
Fence pickets
Table saw and Miter saw
Wood glue, brad nails, screws, and pocket hole jig
Dowel Rod
Decorative stain and finish or paint of your choice
Time To Bring Your Wishing Well To Life

Building the Base
Start by cutting your six side panels. Rip pickets to 5.25-inch-wide boards for the main panels and 2.5-inch-wide boards for the center strips. Each panel consists of two wide boards and one center strip, assembled using pocket hole screws and wood glue.
Once all six panels are ready, set your table saw to 30 degrees and cut angles on the edges to form a hexagon shape.

Assembling the Frame
To join the panels, use pocket holes on one side of each panel. Apply wood glue, clamp the pieces, and drive in one-inch pocket hole screws to create a strong hexagonal base.
For added stability, install trim pieces cut at 30-degree angles on each side. Attach using wood glue and brad nails.

Adding the Roof Support
Cut two 46-inch-long support beams from 1.5-inch material. Mark and drill a three-quarter-inch hole near the top for the dowel rod that will hold the bucket.
Attach the supports to the base using 1.75-inch screws, centering them over two opposite panels.
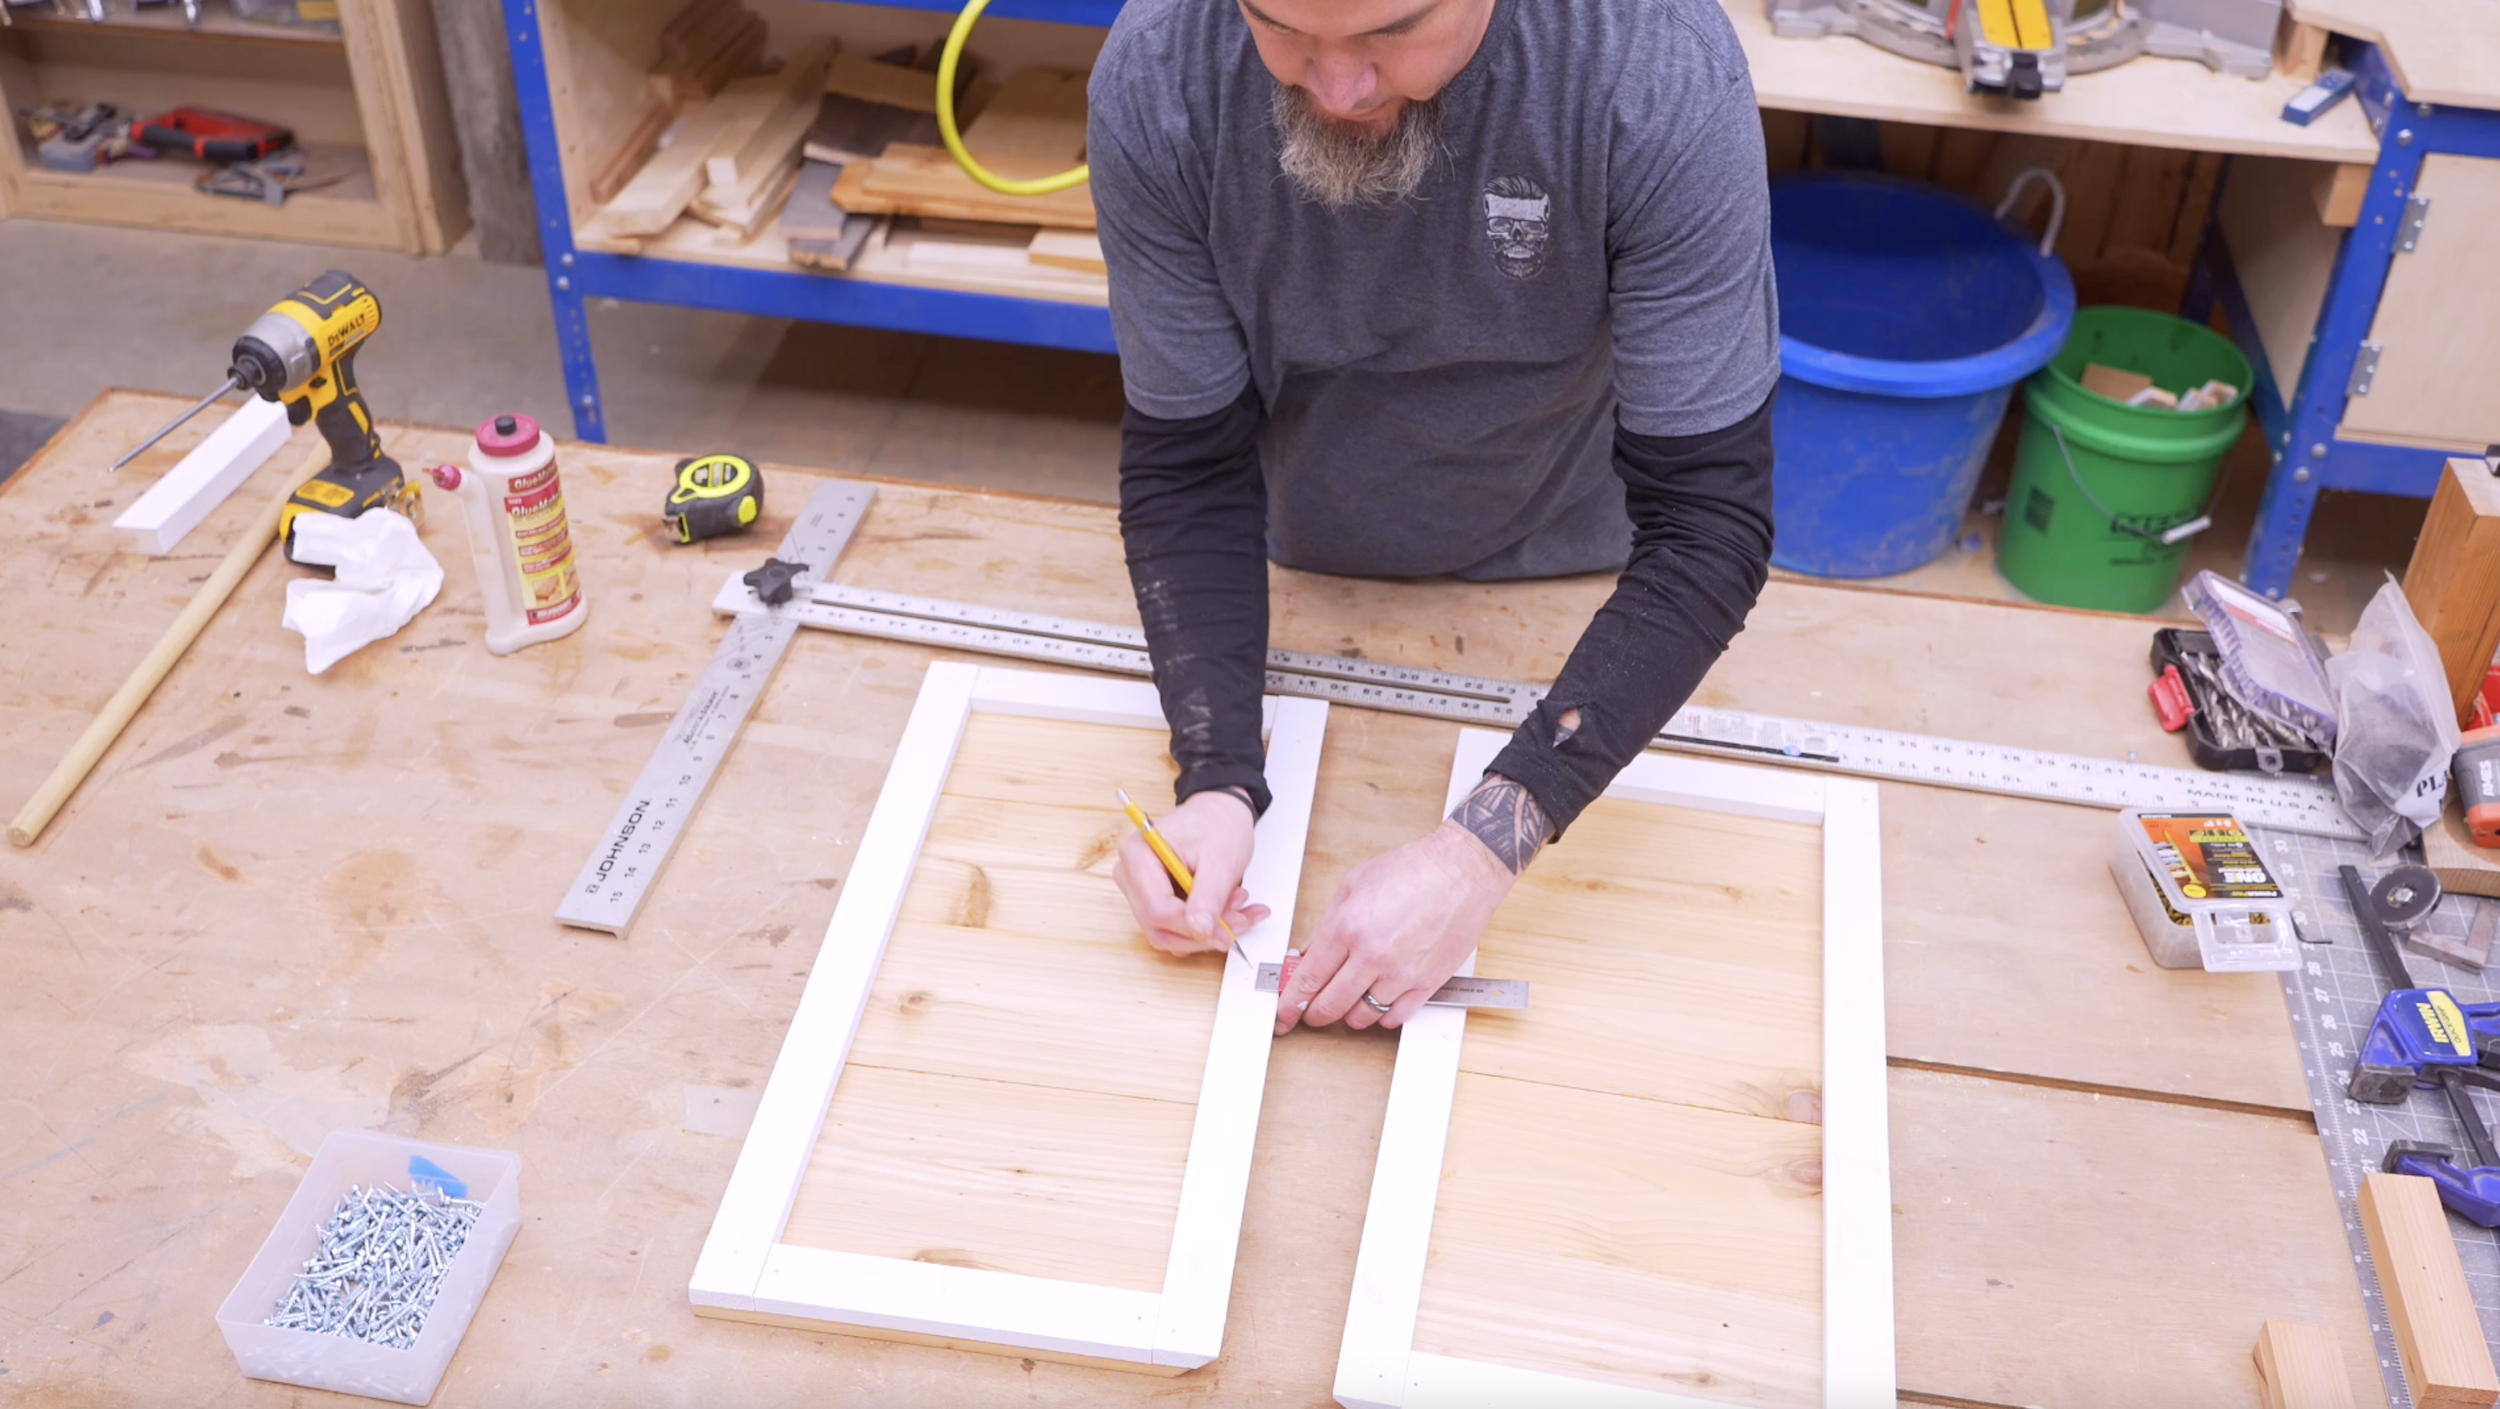
Constructing the Roof
Each roof panel consists of four 5.25-inch-wide slats and one 2.5-inch center board. Assemble with wood glue and brad nails, then add trim pieces.
Set your table saw to 45 degrees and bevel one side of each panel so they meet at an angle. Attach the two panels using pre-drilled screw placements.

Attaching the Roof
Center the roof over the support beams and secure it with one-inch screws. Leave the screws accessible if you want the option to remove the roof later.
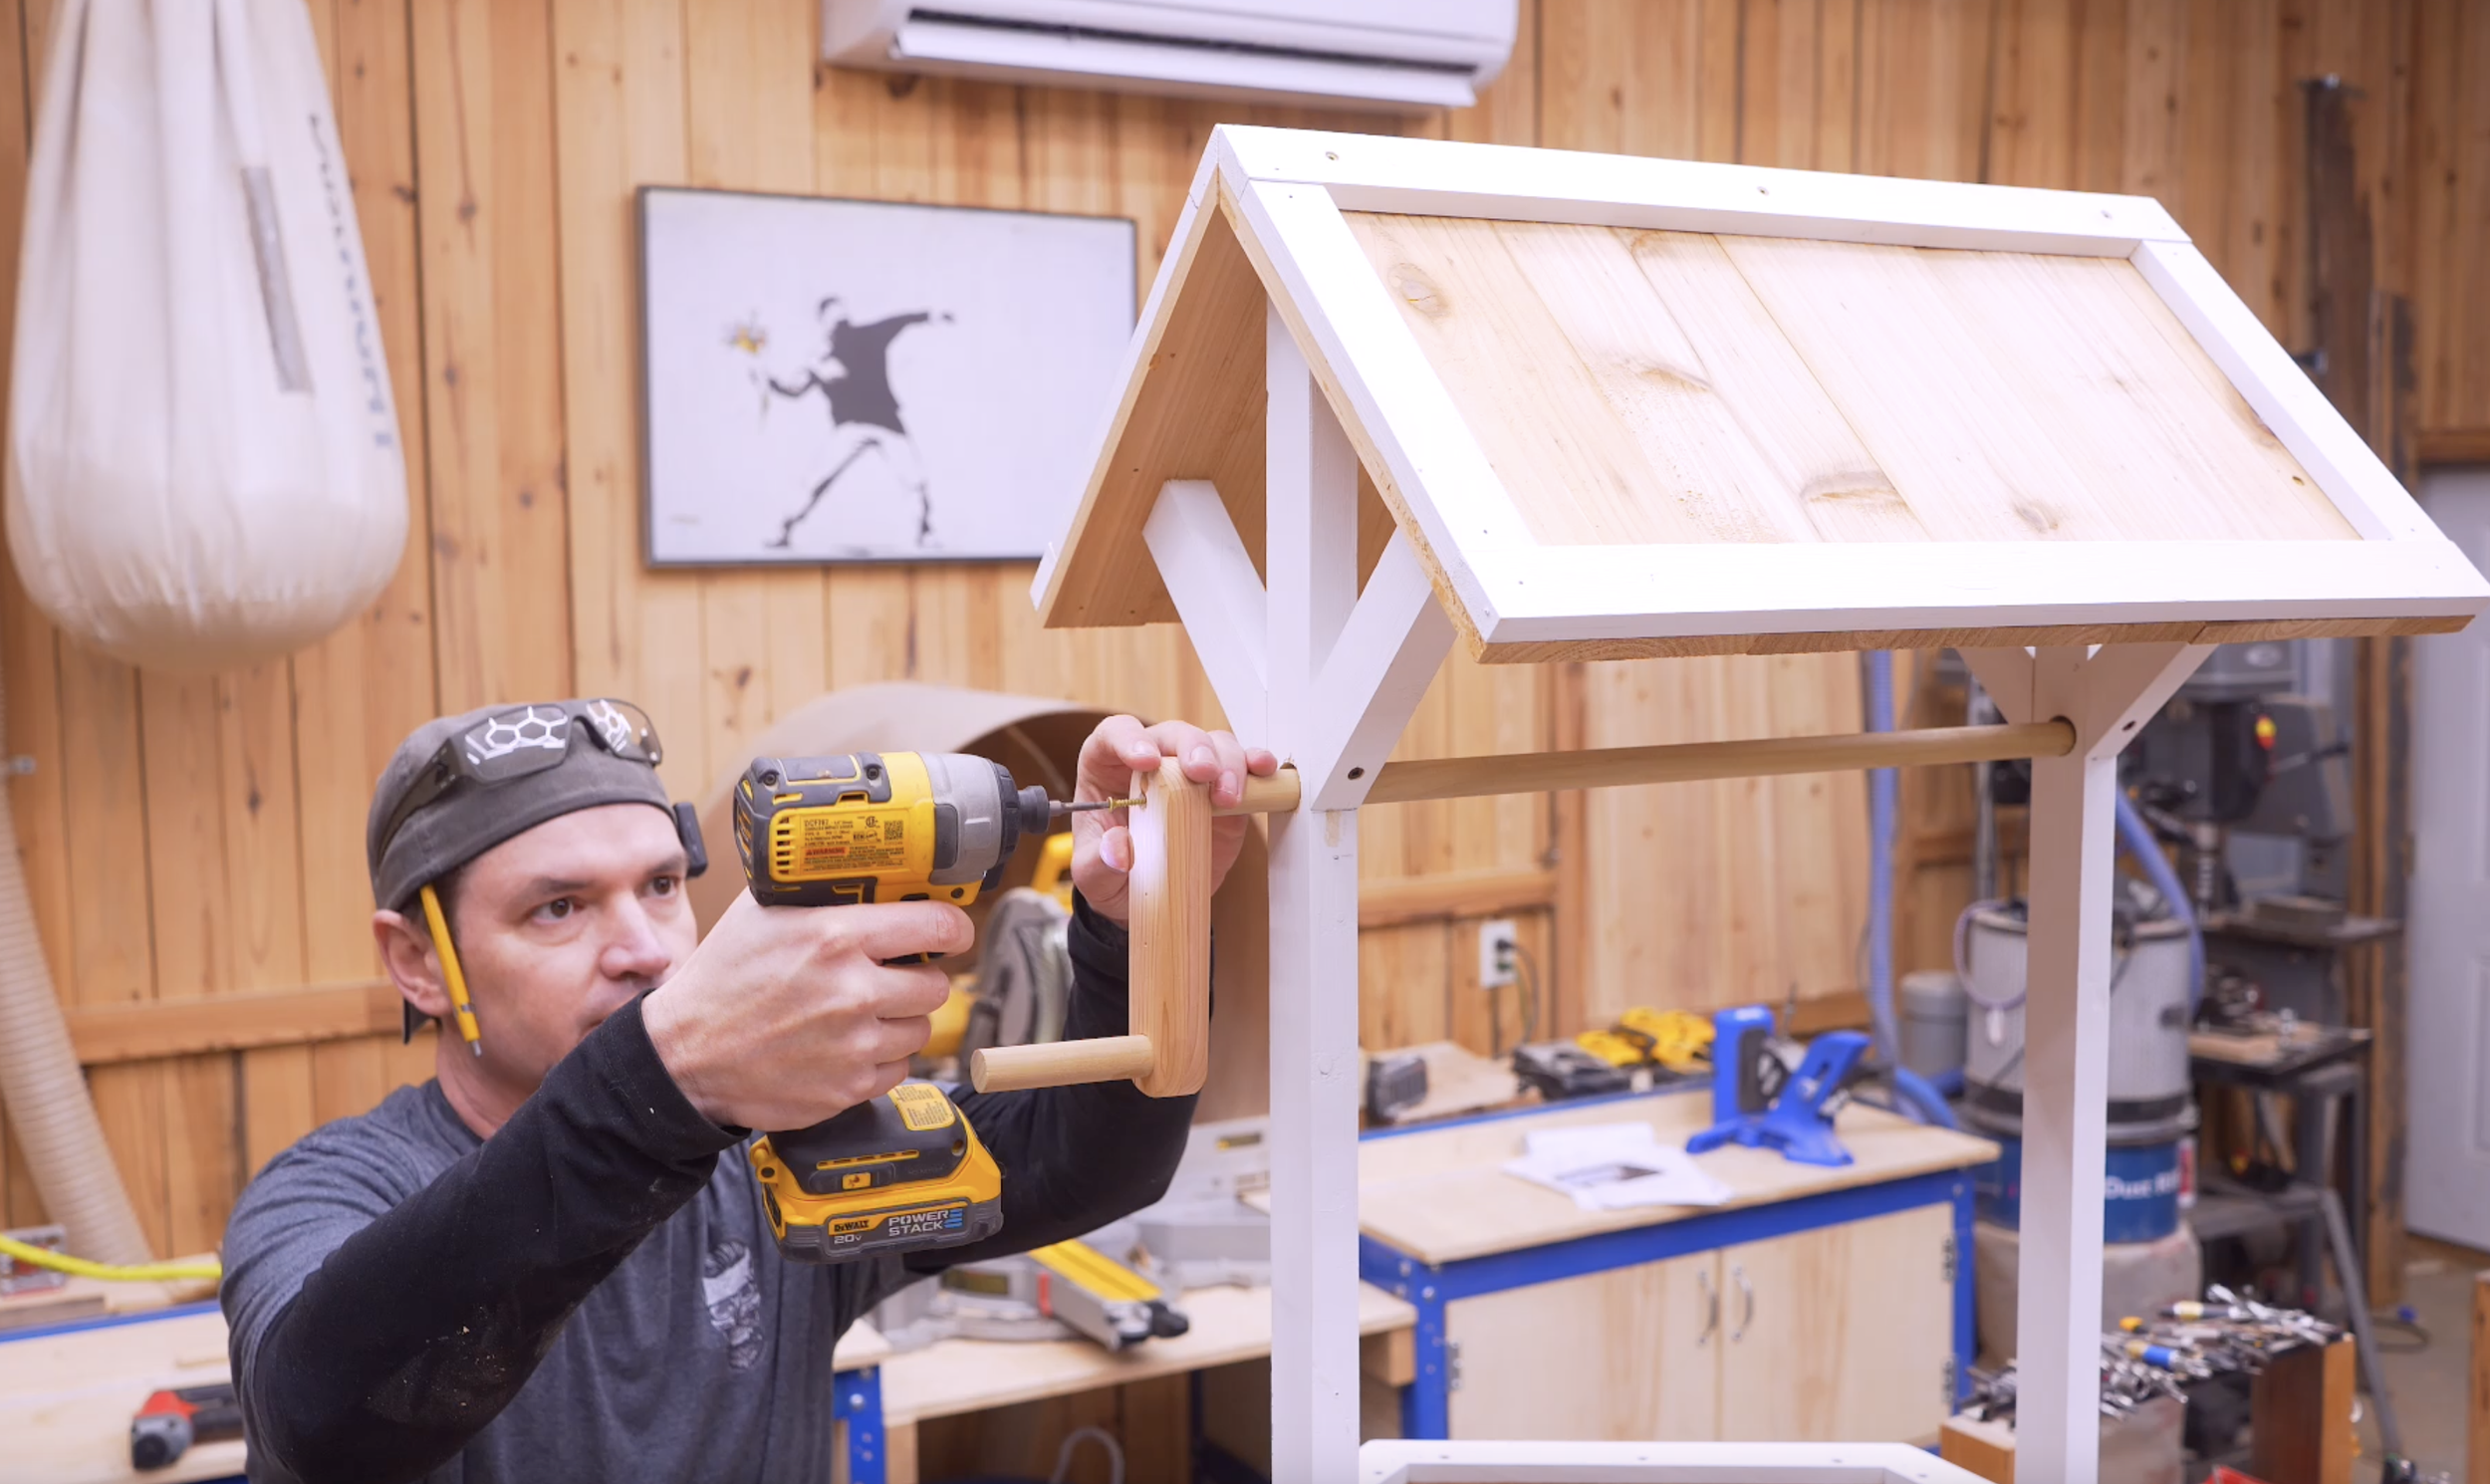
Adding the Crank and Handle
Use a three-quarter-inch dowel rod (about 22.5 inches long) for the crank. Insert it through the drilled holes, securing it with wood glue or a screw on one end.
For the handle, double up two 6-inch-long wooden pieces, glue them together, and attach a small dowel for grip. Secure the handle to the crank with a screw.

Finishing Touches
Sand everything smooth and apply paint or stain to match your aesthetic. You can also add a small bucket with rope for a classic wishing well look or use the rod to hang plants!
Ready To Build?
This wishing well is a fantastic way to add character to your yard or garden. It’s an easy build that you can modify to fit your style, and it makes a great conversation piece!
Whether you’re new to woodworking or a seasoned pro, this project offers the perfect mix of functionality and creativity. If you’re a more “plans in the hand” person, click “Get Plan” down below for downloadable instructions. And if you’re ready to dive deeper into woodworking, check out my new course, “Woodworking Kickstart” (which is also linked below). It’s packed with step-by-step lessons to help you build confidence and skills, whether you’re a total beginner or an experienced DIYer. You’ll be building with confidence in no time.
Remember, creativity doesn’t have to be expensive; all you need is a little inspiration and a willingness to try.
Get Easy Step-By-Step Directions to build this by clicking the button below
⭐ 10,044 5 Star Reviews
📚 113 Plans to Choose From
🧩 Lego-Like Assembly Steps
📏 Exact Measurements
📋 Detailed cut and part list
🔍 X-Ray Views
🚀 Instant Delivery
