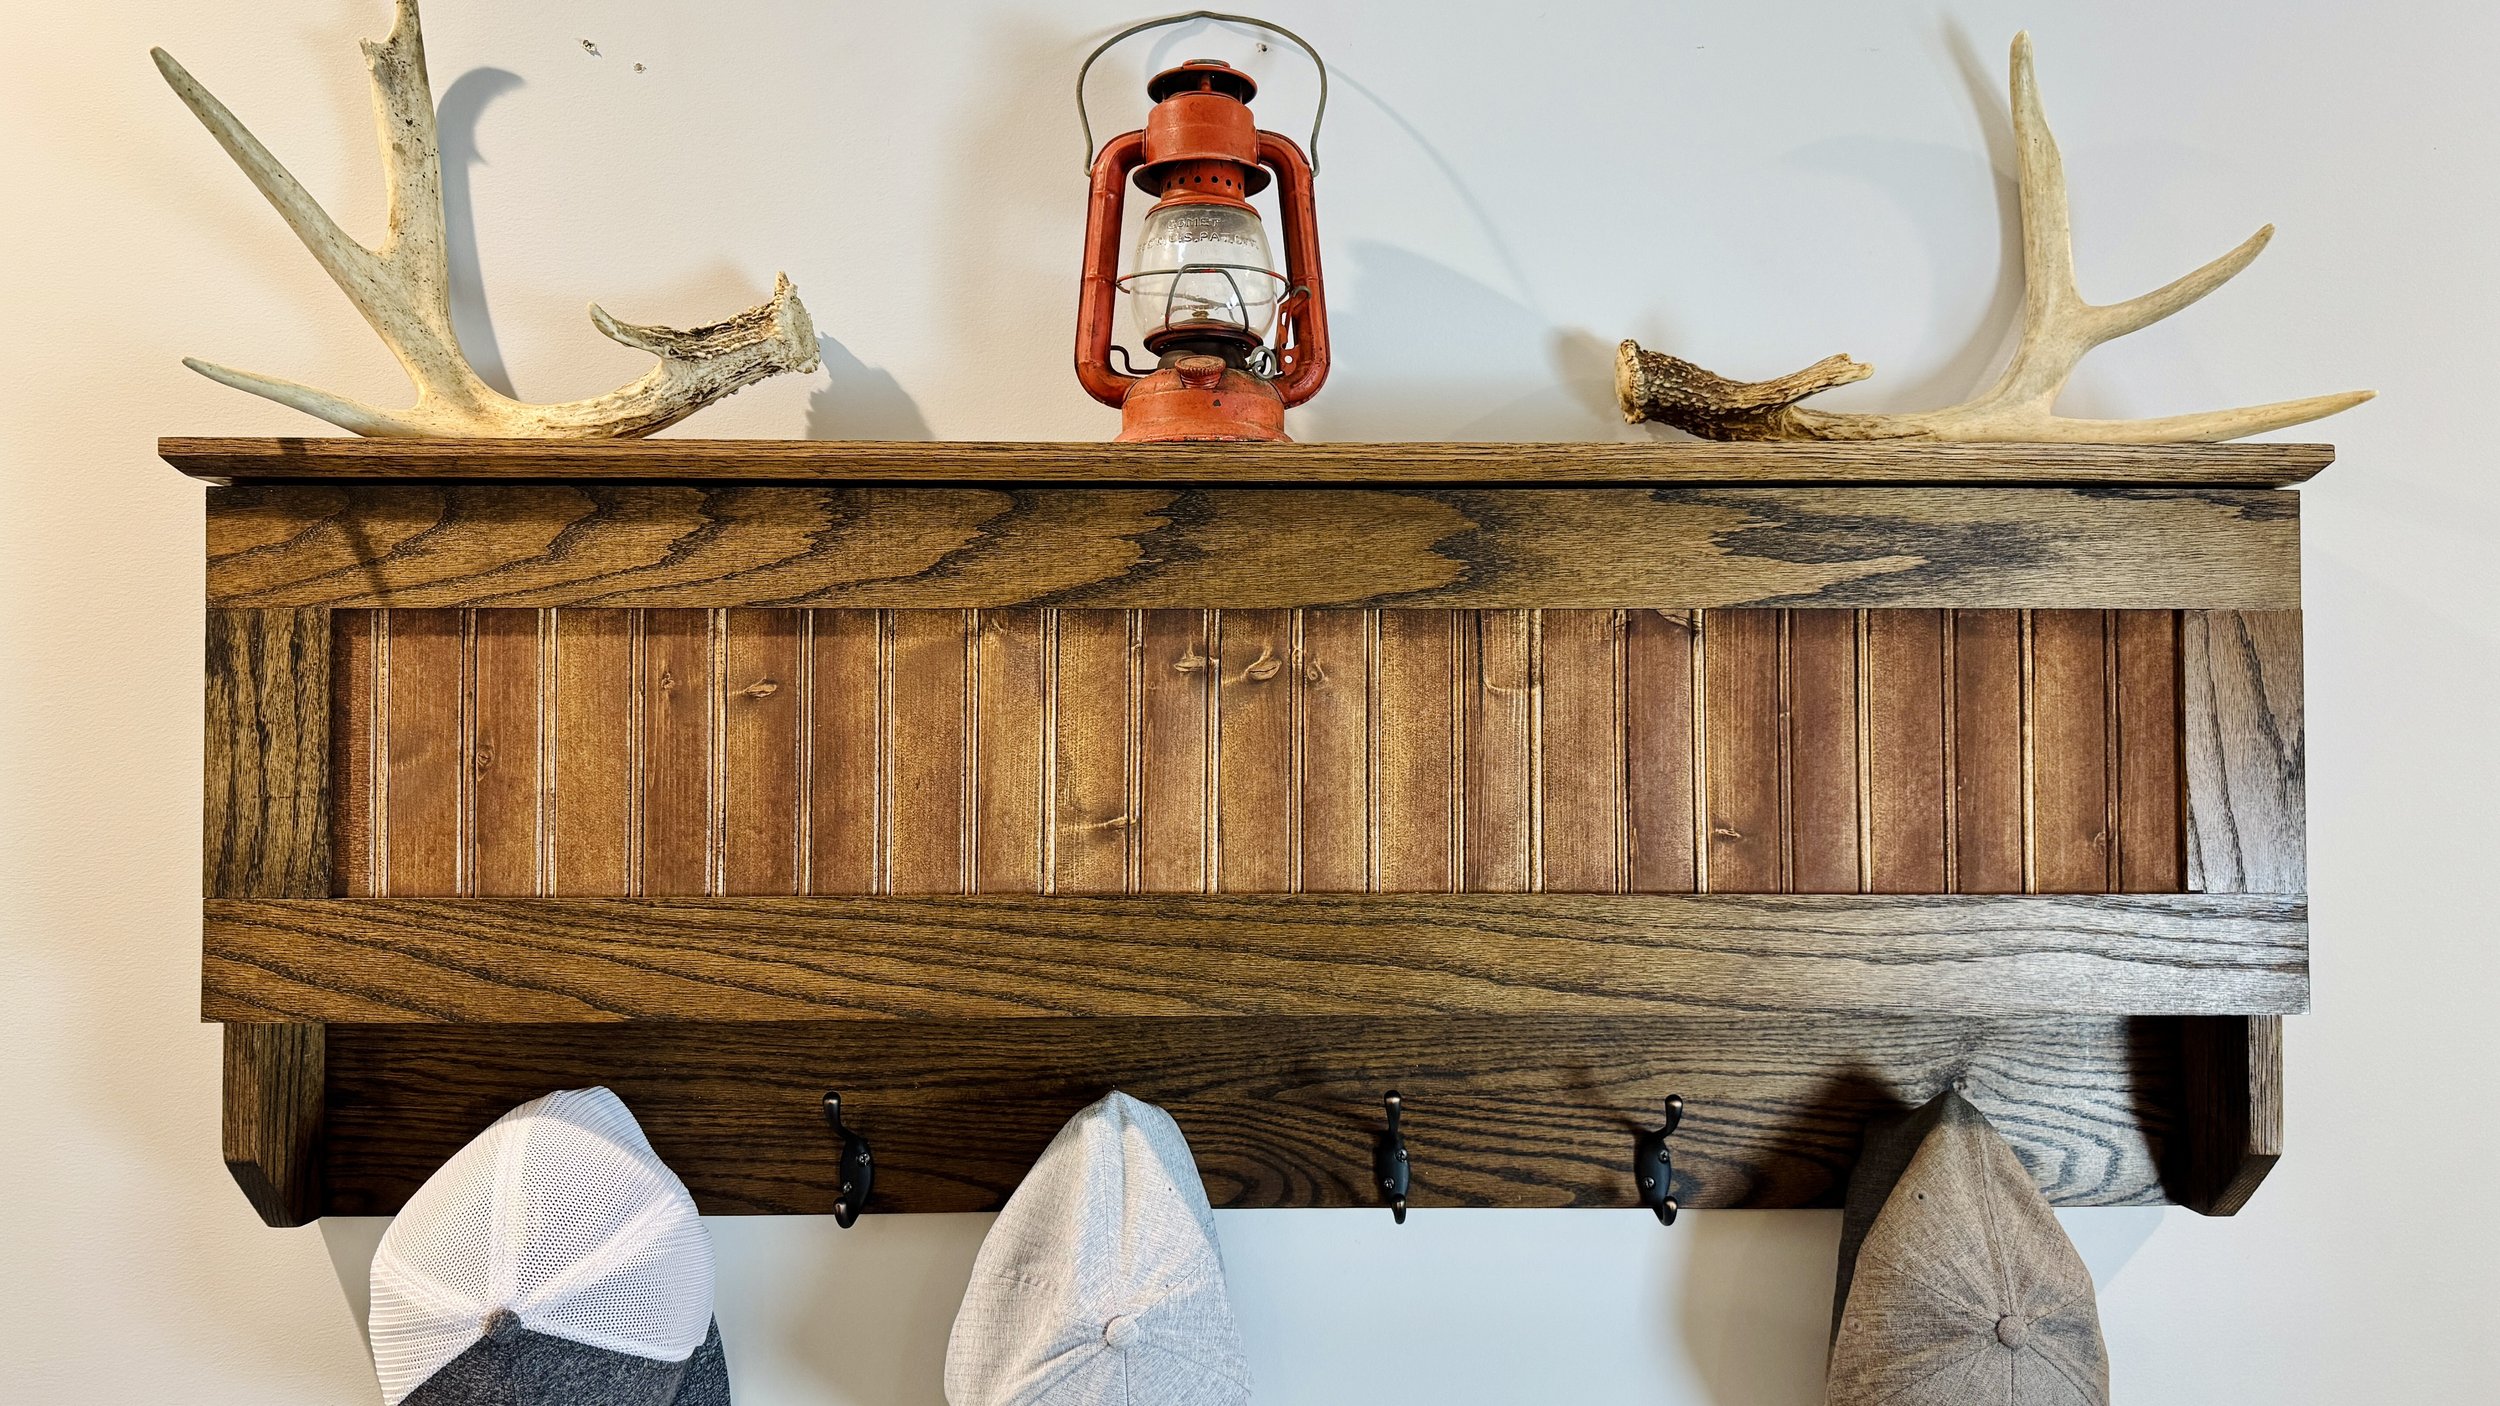
DIY Concealment Coat Rack
Build Your Own Functional Art
Over the years, I've made concealment mirrors, shelves, tables—you name it. But today, I’m excited to share a new twist on one of my original designs. This concealment coat rack is elevated with RFID technology and gas struts to make it not only practical but also high-tech and stylish.
As always, while this is called a concealment coat rack, what you hide in it is totally up to you—be it passports, money, or candy (yep, been there!). Let’s dive in and I’ll show you exactly how to make it.
Materials and Tools You'll Need
Red oak boards (or material of your choice, but I’m aiming for a high-end finish)
Plywood back panel (16x42 inches) or a pre-glued wood panel
Table saw and Miter saw (Router can be optional)
Wood glue, screws, and pocket hole jig
Decorative stain and finish of your choice
Custom hardware: gas struts, RFID lock system, and cabinet hinges
Time To Bring Your Spiral Tree To Life
Prep Your Cabinet Frame
We’re starting with a clean and robust base. Cut the following pieces from 5.5-inch-wide boards:
Top board: 44.5 inches long and rip to 5 inches wide
Side boards: 16 inches long and rip to 3.5 inches wide (with 45-degree angles at one end)
Divider board: 42 inches long and 2.75 inches wide
Once cut, dry-fit everything to ensure it’s all coming together nicely. This gives you a sneak peek of what the cabinet will look like!
Add Decorative Touches
Take your time with details to give your coat rack some character. For instance, I beveled the edges of my top board at a 45-degree angle. You can also use a router to add a decorative design to the edges of the sideboards—or keep it simple for a cleaner look.
Assemble the Frame
Use wood glue and screws to secure the top and side boards to the backing panel. To ensure your screw holes look seamless, counterbore them and cover with matching wood dowels. If you want a contrasting look, try walnut plugs instead. Trust me, this tiny touch goes a long way in making the finished product pop.
Craft the Door
The door is where the magic happens! For a professional finish, I opted for rail-and-stile joinery. This method creates strong and visually appealing joints.
Frame: Cut two sideboards and two top/bottom boards from 2.5-inch-wide red oak. Add grooves for the center panel.
Center Panel: Use quarter-inch beadboard or tongue-and-groove panels for a stylish insert. You can even pre-stain this panel to add contrast.
Assembly: Glue it all together, ensuring the door stays square, and let it dry completely.
Install Hinges and Gas Struts
For smooth, seamless operation, attach cabinet hinges to the door and box. Measure carefully—I placed mine 6 inches from the edges.
Then, add gas struts to hold the door open effortlessly. Here’s the trick: measure down 1 inch from the top inside corners of the cabinet for one bracket and 1.75 inches from the top edge of the door for the second bracket. Once both brackets are secured, snap in the struts.
Mount the RFID Lock
What’s cooler than a hidden compartment that unlocks with a simple RFID tag? Place your locking mechanism about 21 inches from the right edge and 1⅝ inches from the top. Align and install the latch on the divider inside the box. A couple of test runs and adjustments, and you’re all set.
Sand, Stain, and Finish
Before final assembly, sand all surfaces smooth. For my build, I used a dark walnut stain for the frame and a lighter contrasting stain for the door panel. If you’re working with softwood like pine, apply a pre-stain conditioner to avoid blotches.
Add Hooks and Final Touches
The final step is to attach your coat hooks. Choose any style or spacing you prefer. This part is totally customizable, so have fun with it!
For an extra touch, I added customizable foam inserts and magnets inside the concealed compartment to store valuables securely. You can also add motion sensor lights for added flair.
Ready to Build?
Whether you’re new to woodworking or a seasoned pro, this project offers the perfect mix of functionality and creativity. If you’re a more “plans in the hand” person, click “Get Plan” down below for downloadable instructions. And if you’re ready to dive deeper into woodworking, check out my new course, “Woodworking Kickstart” (which is also linked below). It’s packed with step-by-step lessons to help you build confidence and skills, whether you’re a total beginner or an experienced DIYer. You’ll be building with confidence in no time.
Remember, creativity doesn’t have to be expensive; all you need is a little inspiration and a willingness to try.
Get Easy Step-By-Step Directions to build this by clicking the button below
⭐ 10,044 5 Star Reviews
📚 113 Plans to Choose From
🧩 Lego-Like Assembly Steps
📏 Exact Measurements
📋 Detailed cut and part list
🔍 X-Ray Views
🚀 Instant Delivery


